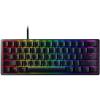
A keyboard cops a lot of abuse, crumbs, dust, mysterious stickiness that definitely was not there yesterday, the works. If yours is starting to feel like a biological hazard, here is a quick, simple guide to getting it looking brand new again. PB Tech stocks pretty much everything you will need, minus the soapy water. We will let you handle that one.
We’ve got 2 cleaning styles below: Quick Clean for fast maintenance, or Deep Clean when your keyboard has been already been through a lifetime of neglect.
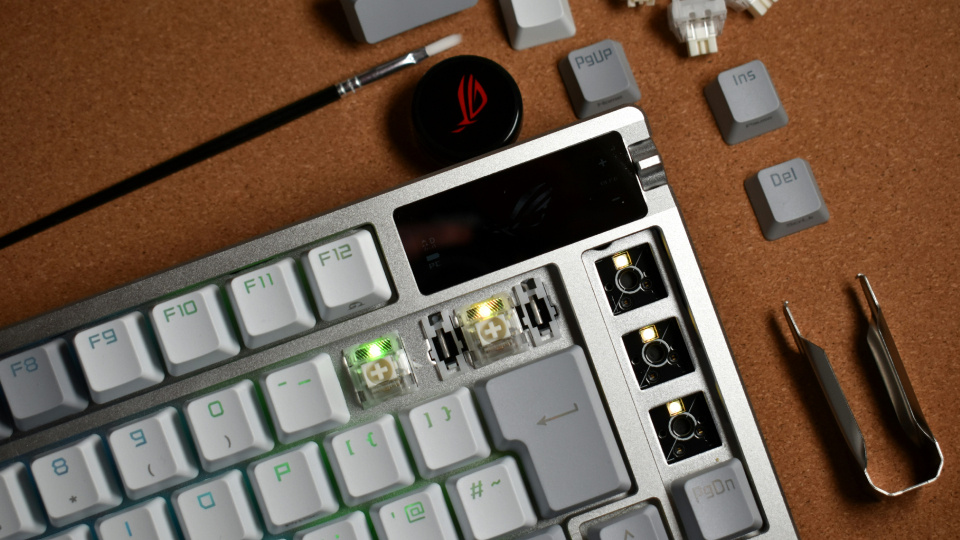
What You’ll Need
- Warm, soapy water
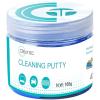
- Universal cleaning gel putty
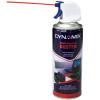
- Compressed air
- Anti-static cleaning wipes
- Either a keycap puller
- Optional:
- Thin cloth
- Vacuum


Method 1: Quick Clean (Fast and Easy)
Great for weekly touch-ups or when you don’t want to remove keycaps.
Unplug the Keyboard
Necessary. Saves you from accidentally starting a war of illegible words with the wrong person.
Shake Out Loose Debris
Flip the keyboard and give it a gentle shake.
If you’re feeling fancy, put a thin cloth over it and run a vacuum lightly across the top.
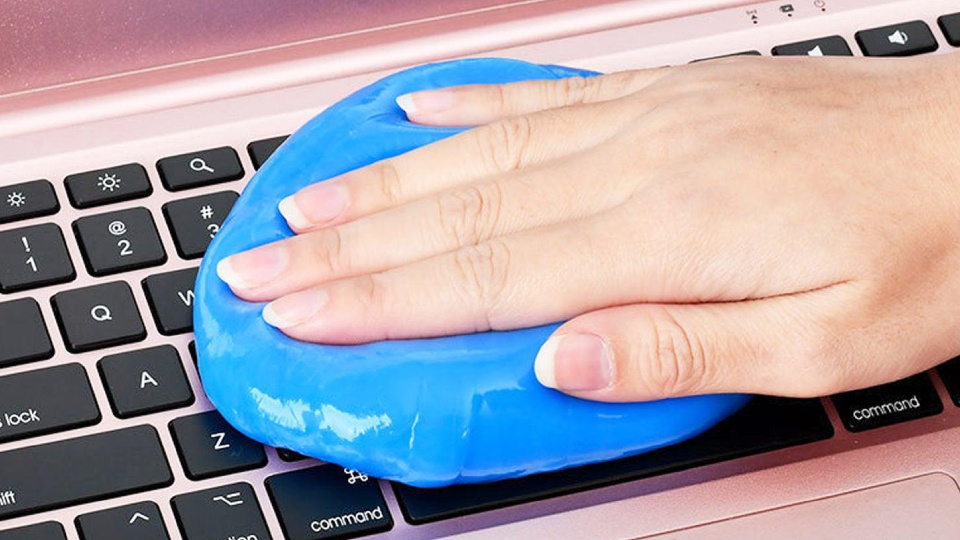
Use Cleaning Putty
Press it between the keys to lift out dust, crumbs, and that one chip fragment from last Tuesday. Basically anything that can’t be accessed, and also hasn’t joined the other crumbs in being shaken out of there.
Wipe the Surface
Use anti-static wipes to clean the tops and sides of the keys.
No full soak needed. This is just a surface refresh.
Final Touch
Use compressed air to blast out any leftover dust at weird angles. You can of course do this at an angle so that the dust doesn’t just fall back into your keyboard, but another tip is to hover the vacuum slightly above the keyboard to capture the flying debris before it ends up everywhere else.
Boom. You now have a noticeably cleaner keyboard, the low-effort way.
Method 2: Deep Clean (For the Truly Committed)
Perfect when keys are sticky, grimy, or just plain gross.
Unplug the Keyboard
You know the drill.
Remove the Keycaps
Take a photo of your layout!
Use a keycap puller like the one from the Q6E kit to remove all of your keycaps.
Tap Out the Board
With the keycaps off, flip the board and gently tap to knock loose dust and crumbs.
Blow Out the Inside
Use compressed air to get rid of deep debris.
Clean the Keycaps Separately
Drop them into warm, soapy water and let them soak.
After a few minutes, wipe each one before leaving to air dry. They should be completely dry upon their return.
Wipe the Bare Keyboard
Use anti-static wipes to clean the plate and switches.
No need for putty or vacuuming here since everything is exposed already. Although the putty can still help if you’ve somehow got muck somewhere that the wipes can’t clean effectively.
Reassemble
Pop the dry caps back on, give the board a final gentle wipe, and admire your work.
You’ve just given your keyboard the spa day it deserved. Now back to work!